About this deal
I simply loved painting these tendrils, the way they knot and twist is fascinating. A simple green line either side then a very pale top wash suffices. Here I’m adding some darker areas; the green mixed with prussian blue and purple. Painting the Sweet pea petals Apply in dry conditions, above 5 degrees Celsius and when bad weather is not forecast, minimum of 2 coats required. The final colour will vary depending on the surface and number of coats. If adhesion is inadequate on previous coatings, lightly sand before application. Make sure wood has been pre treated with appropriate wood preserver to prevent wood and decay. I use Winsor & Newton watercolours, and work quite dry. This mix is Opera rose with a touch of Cobalt blue. I always use a Winsor & Newton series 7 paintbrush, normally a number 1. Mix up an ever paler and wetter tint of pink. Apply this wash across almost the entire flower (including the parts which got the first layer of colour). Leave the palest areas as white paper, right next to the stem of the flower. Now do the same for the veins in the central winged area of the flower too. The colour mix here is the same as before, but with some purple added.
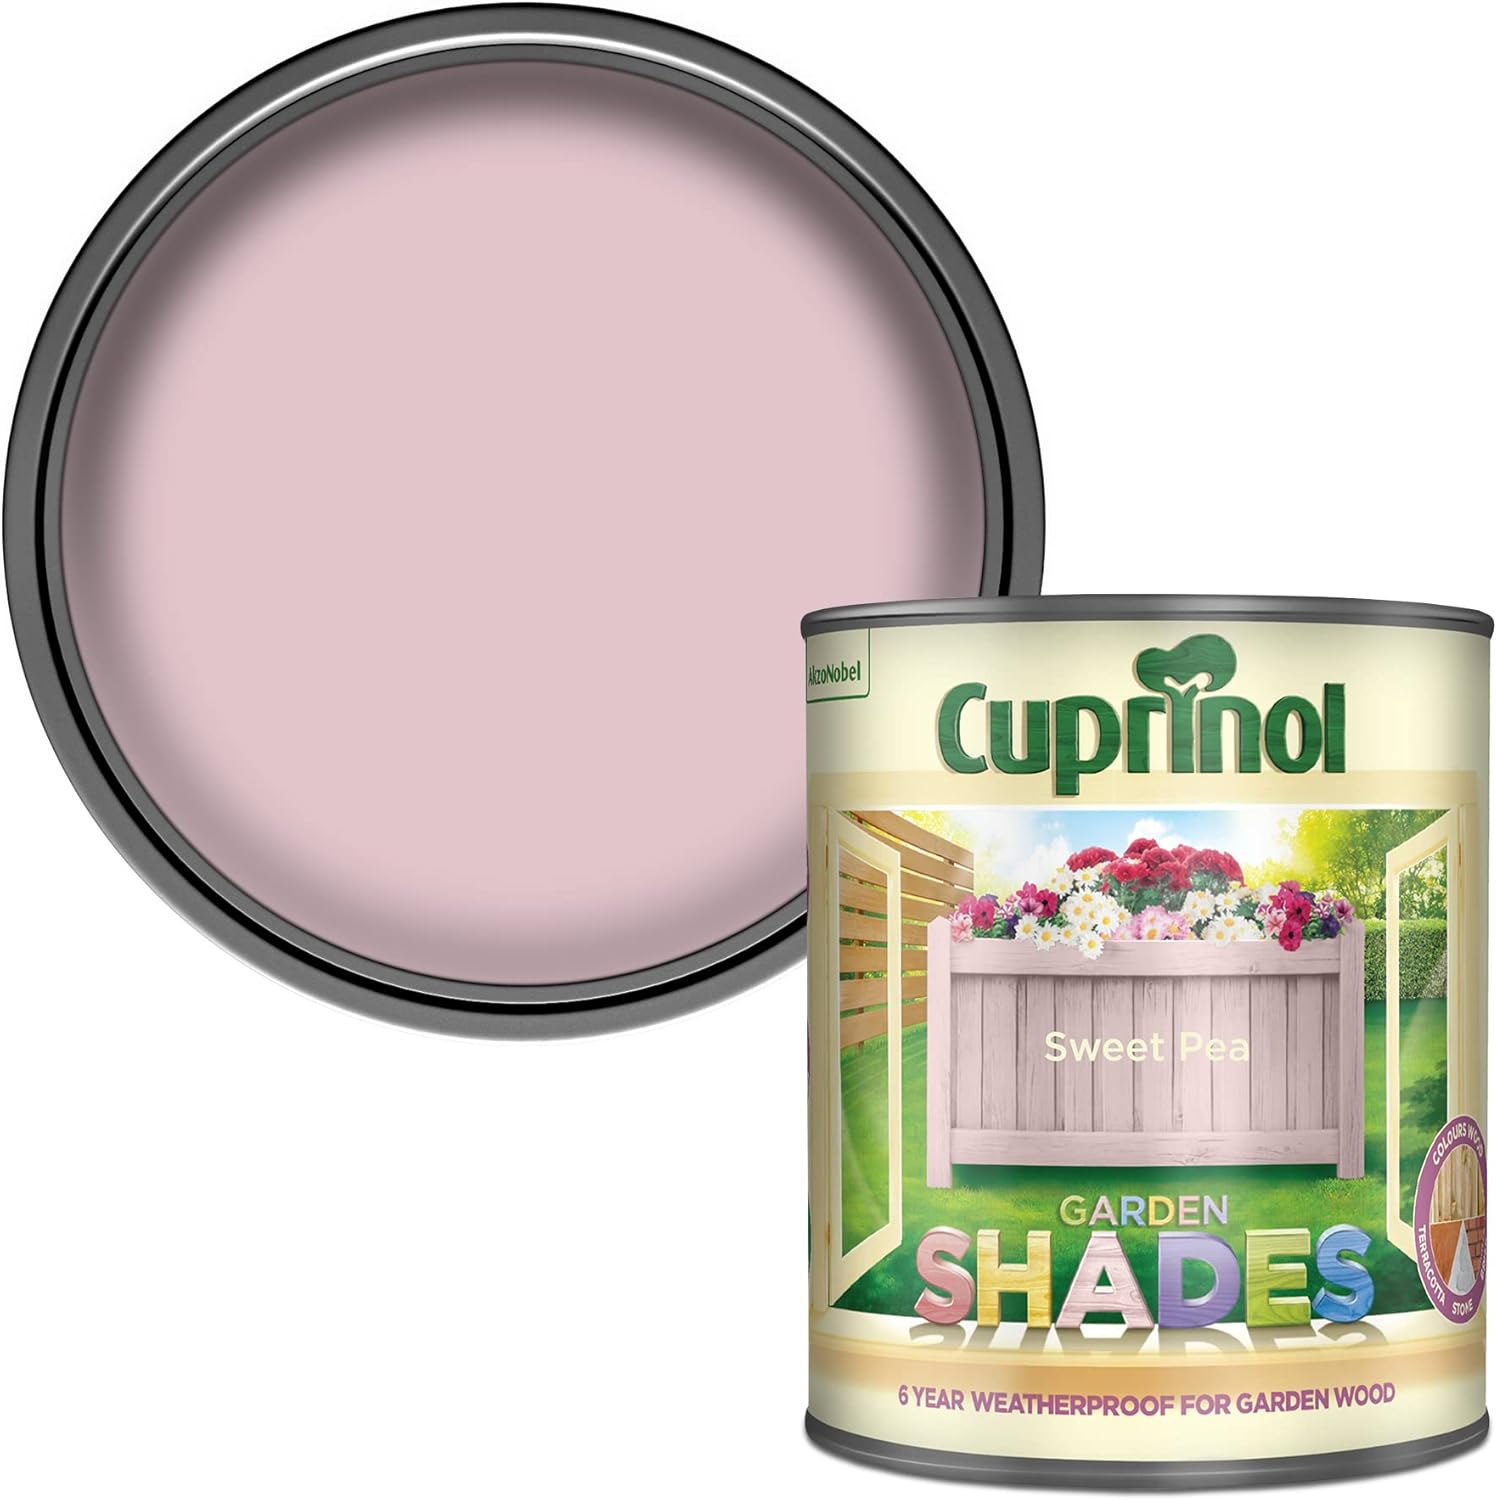
There are lots of different species and cultivars of these pretty flower; some smell amazing and come in a wonderful range of colours. These flowers can be found in gardens around the world.
Stir thoroughly before pouring contents into a Cuprinol sprayer. Overspraying surrounding areas can be minimized by avoiding spraying in windy conditions and by using cardboard or plastic as a shield. Any overspray should be cleaned up immediately (whilst still wet) with water and household detergent. This is the completed sketch. This image is a scan rather than a photo; it’s interesting to note the difference in tone and colour due to the different ways of recording the illustration. Generally, scans are lighter and yellower. You can always adjust for discrepencies between colour of scans or photos and the true illustration’s colours in an image editing programme such as Adobe Photoshop. Lit: Judy Marle, ‘Jennifer Durrant, Recent Paintings’, Arnolfini Review, March–April 1979, p.2; Alister Warman, catalogue introduction for 13 Britische Künstler, eine Ausstellung über Malerei, Neue Galerie-Sammlung Ludwig, Aachen, December 1981–February 1982, and tour [p.10] As you can tell, it’s the twirly tendrils on this sweet pea that I particularly loved drawing. Adding a second flower head, looking at venation in more detail I add another wash of pink to the centre of the flower. You’re trying to keep the lights and darks in tact, but also want to unite the different areas of the flower. It’s something of a balancing act.
Once your botanical illustration has dried, work into the inner petals a bit more. Add some detail, and balance the different parts of the flower by adding pinks to this central zone. Using a pencil, and drawing direct onto your watercolour paper, draw the flower. I like to use the Pentel P205 mechanical pencil, and my current favourite hot press watercolour paper is Global Arts Fluid 100. I then add the tiniest dashes of yellow to the inside regions of the claw petal. This not only echoes the colouration of the flower, but adds something of a “pop” where the dark central zone abuts the yellow. Decide if you want to focus on the flower, or want to include leaves and tendrils too. It’s worth concentrating on the flower first as they can wither fast. You can extend their lives a little by putting a twist of wet tissue at the base of the stem. It’s wise to take a photo of the everlasting sweet pea flower early on for future reference. Make sure you have several flowers on hand before you start.In the catalogue of the 1979 Hayward Annual exhibition (op.cit.,p.66) Durrant discussed her approach and working methods: The artist has pointed out that, as her paintings are not concerned with the straightforward depiction of external events, her choice of an image, colour or texture may initially be prompted by her experience as recorded in her note-books, but when she begins to paint, the needs of the painting itself dictate the way these elements are eventually combined, amended or organised. MINIMUM OF 2 COATS REQUIRED. SUBSEQUENT COATS MUST BE APPLIED ON THE SAME DAY NO LONGER THAN 8 HOURS APART. IF NOT POSSIBLE, LIGHTLY SAND DOWN SURFACES BEFORE RECOAT TO ENSURE ADHESION. Use your paint pretty dry, and build up layers of tiny brush marks. These should echo the areas of light and dark on the flower. Be sure to follow the line of growth, and adding some extra paint marks at the outside edge is a wise move. Your eye likes to feel anchored at the edge of a petal.
Test a small area first for colour and adhesion: Colour the final colour will depend upon the type of surface, previous treatment and number of coats applied. If using more than one can it is advisable to mix them together in a container or finish in a corner before starting a new can. Adhesion: if adhesion is inadequate on previously coated surfaces, lightly sand before application. More detail on the stem and calyx, this is alizarin crimson and purple lake, with a touch of vandyke brown. Now plot in the network of veins you can see within the petals. Concentrate on getting the pattern correct, and anchor the veins at the edge of the petal with extra little brush marks.
Watercolour supplies you need
I paint my pictures with the canvas stretched flat on the floor, viewing them from the top of my steps, and I see the painting frontally/head on, only when it feels whole or I cannot choose what to do. I suppose (as I have not changed this procedure for several years) I enjoy the surprise I get when the picture goes up and then I feel either relieved or disappointed. I often experience difficulty in making choices within the painting-what the painting needs as opposed to what I put in the painting ... I work on several canvases at a time ... and I view them as a group although I feel each painting is separate and complete itself. The sensation of place in painting is very important to me... How much you are enveloped, or brought in, or feel up against the painted surface ... I am aware of ways in which I use my experience of the visible world as starting-points for my painting. A starting-point can be my wish to create a visual equivalent for a particular experience in purely painterly terms within a tradition of painting-and in so doing, discover (for) myself. Having put down the initial green on the stem and calyx, I work into it, adding the flush of purple. I try to keep my colours fresh and light, and don’t erase the pencil in these sketchbook studies, which gives me a little more freedom with the paint as it doens’t have to delineate any edges. I used Opera pink and a touch of the purple used for the flower veins. Go slowly and make sure you don’t take everything too dark too swiftly. Untreated wood: should be pre-treated prior to adhesion test with an appropriate wood preserver to prevent rot and decay. These [ T03305 and T03306] are two from a group of paintings, started after a holiday the artist spent in Canada and the USA in the summer of 1978 and completed between February and March 1979. Six of the paintings were first shown in her exhibition at the Arnolfini Gallery, Bristol, in March 1979.
Related:
 Great Deal